The main window was overhauled in Beta 6 and split off from the settings window, and now/currently only contains the channels configuration.
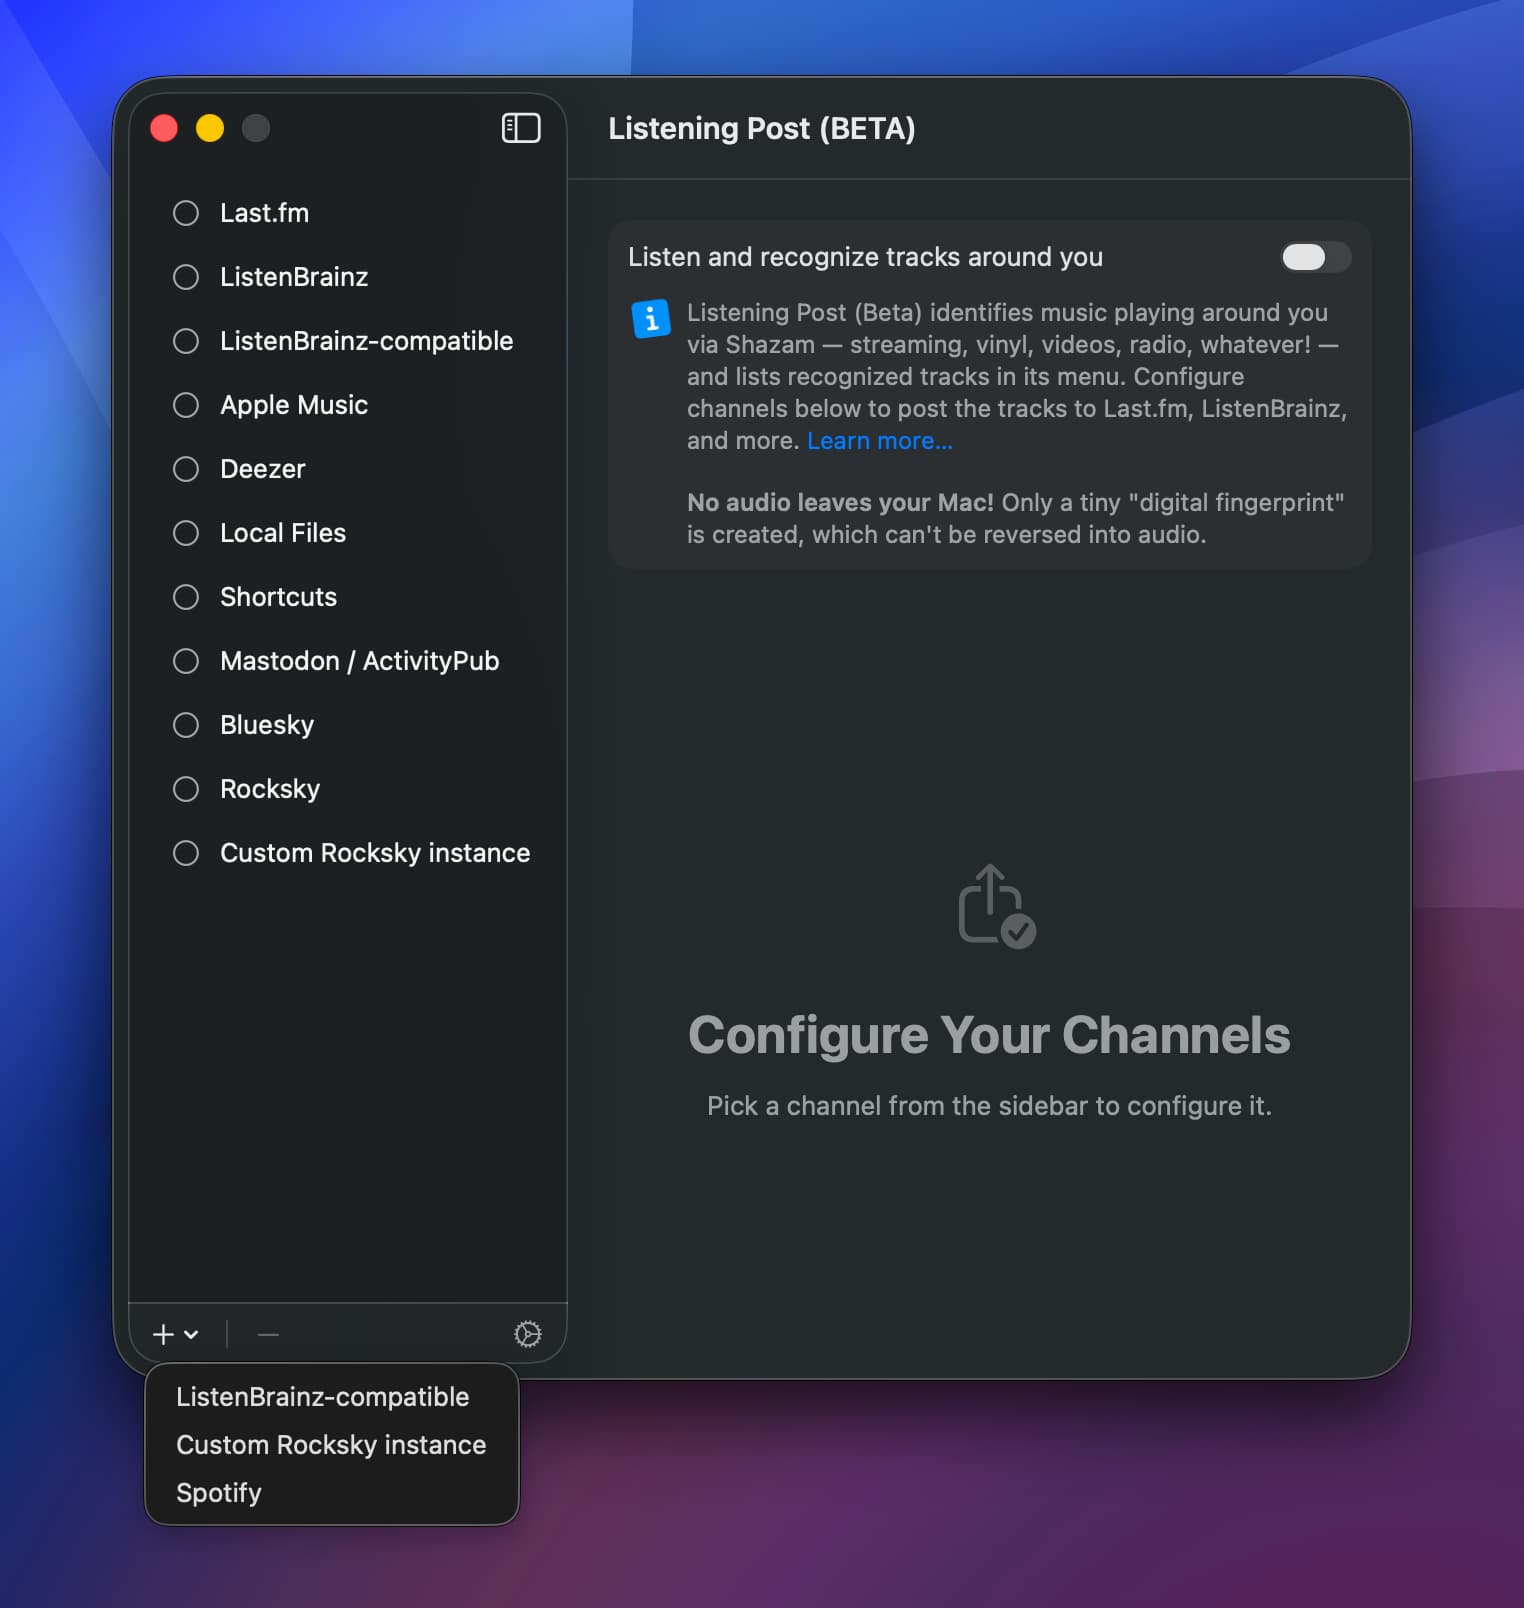
The toggle on top enables or disables music recognition. (It’s doing the same thing as the “Start listening”/“Stop listening” menu bar entry (icon in your upper right screen corner, left of the clock).)
You can add and remove channels using the + and - buttons at the bottom. (See below.)
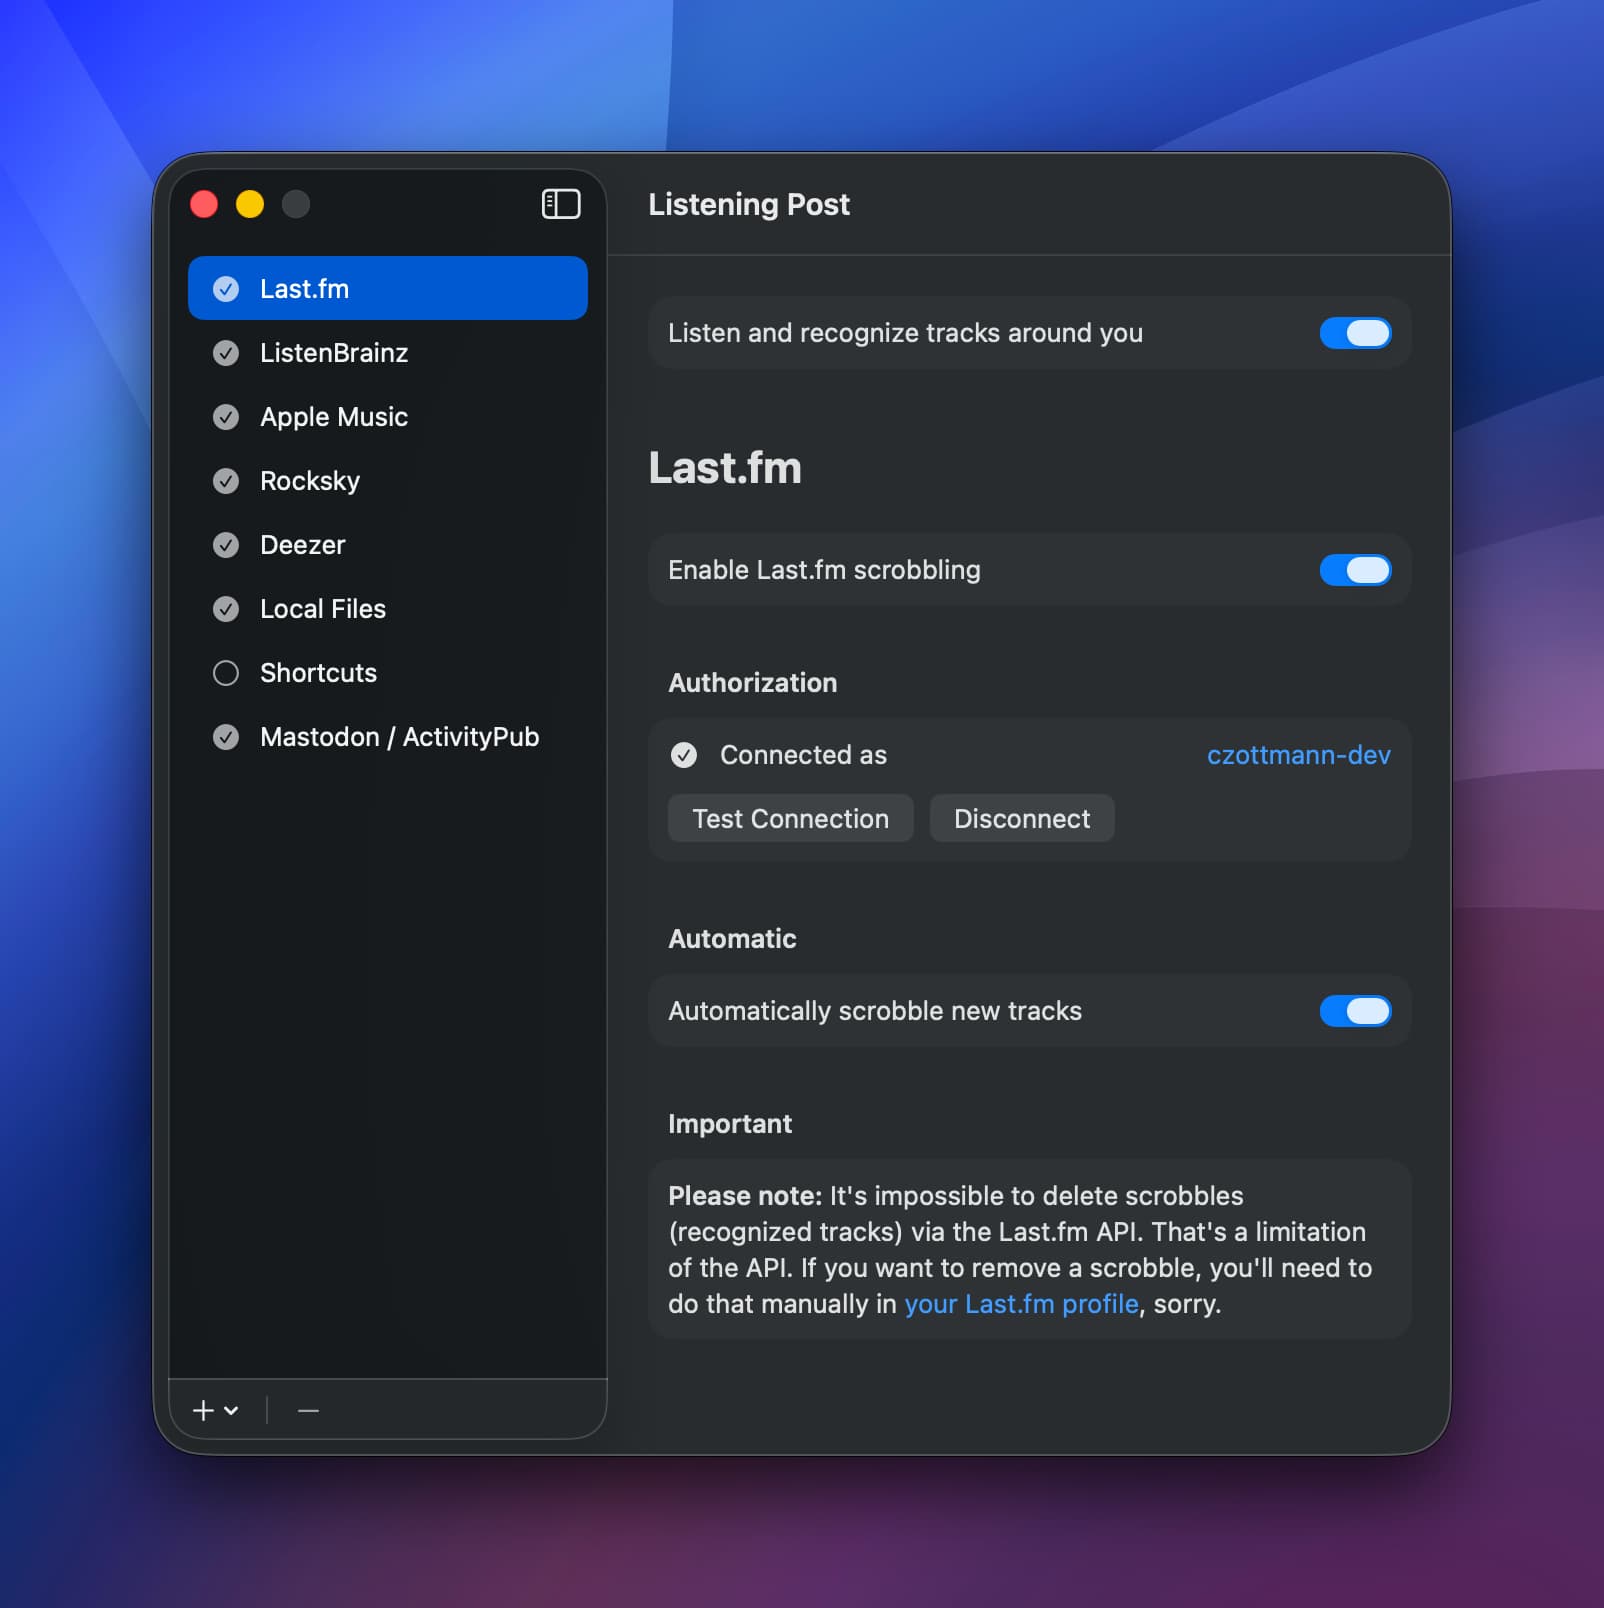
Clicking any existing channel will bring up its configuration on the right hand side of the window.
Adding Channels
The + button lets you add new channels. There are two types of channels: so-called “singletons” which can only be added once, and “instance” channels which can be added multiple times.
Singletons are, for example, Last.fm, Deezer, ListenBrainz — there is only one Last.fm site, so you’ll only be able to add it once.
Instance channels are for self-hosted services. For example, there are several ListenBrainz-compatible scrobblers out there, they all follow the same API schema, and so you can add more than one LB-compatible channel.
Credentials (like username, password, API tokens etc.) are stored securely in the macOS keychain.
Deleting Channels
Selecting a channel and clicking the - button in the bottom bar will let you remove a channel. There’s a confirmation dialog, and you can decide to just delete the channel and its credentials (“Delete”), or those plus all related track enrichments from LP’s internal database (“Delete and Remove All Local Data”).

Neither option will delete any recognized tracks! “Local data” refers to any track enrichments the channel made over its lifetime — e.g. deleting all local Last.fm data would only remove the Last.fm-related metadata (like the track URL).